How to Build an FPV Drone: Parts, Order and Setup
Building your own FPV drone is mostly a matter of choosing parts that agree with each other and then doing the steps in a sensible order. This guide walks through both: the parts list and how the choices connect, then the build, the setup and the first flight.
What an FPV drone is made of
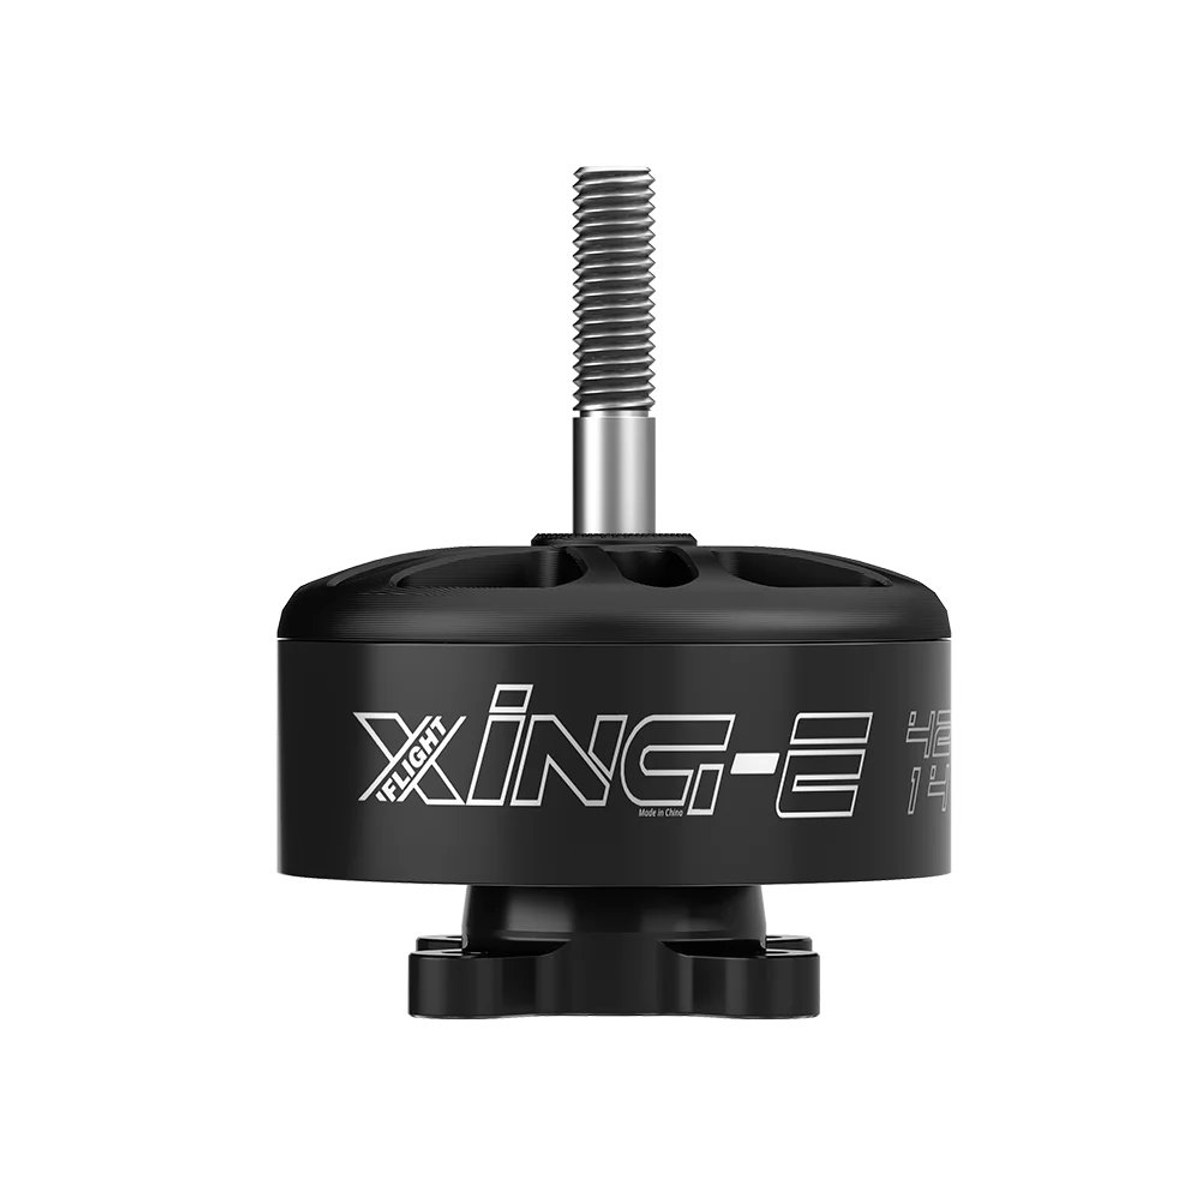
A first build needs the same handful of parts whatever the size: a frame, four motors, four propellers (two of each spin direction), an ESC, a flight controller, a receiver, a video system, a battery, and on the ground a radio, goggles and a charger. The ESC and flight controller often come as a stack of two boards, or sometimes combined on one board.
The video system is either analog or digital. It has a camera and a transmitter on the drone (a VTX, or an air unit for digital systems) with an antenna, and goggles on the ground. The two ends must be the same system: analog goggles cannot show a digital link, and the other way round.
You also need tools and consumables: a soldering iron, solder, hex drivers, heat shrink, zip ties, threadlocker and a capacitor for the battery leads. The sections below cover them in the order you will need them.
Choose the parts in the right order
Almost every part depends on the one before it, so decide in this order and the rest falls into place:
- Frame size. This sets the largest propeller the drone can carry, and with it the character of the build. 5 inch is the usual size for a first freestyle or racing drone because parts and spares are easy to find.
- Propeller size. It follows from the frame, and it decides which motors make sense.
- Motor stator size and KV. A bigger propeller wants a bigger stator and a lower KV. Our guide to choosing FPV motors and the propeller guide go into the pairings.
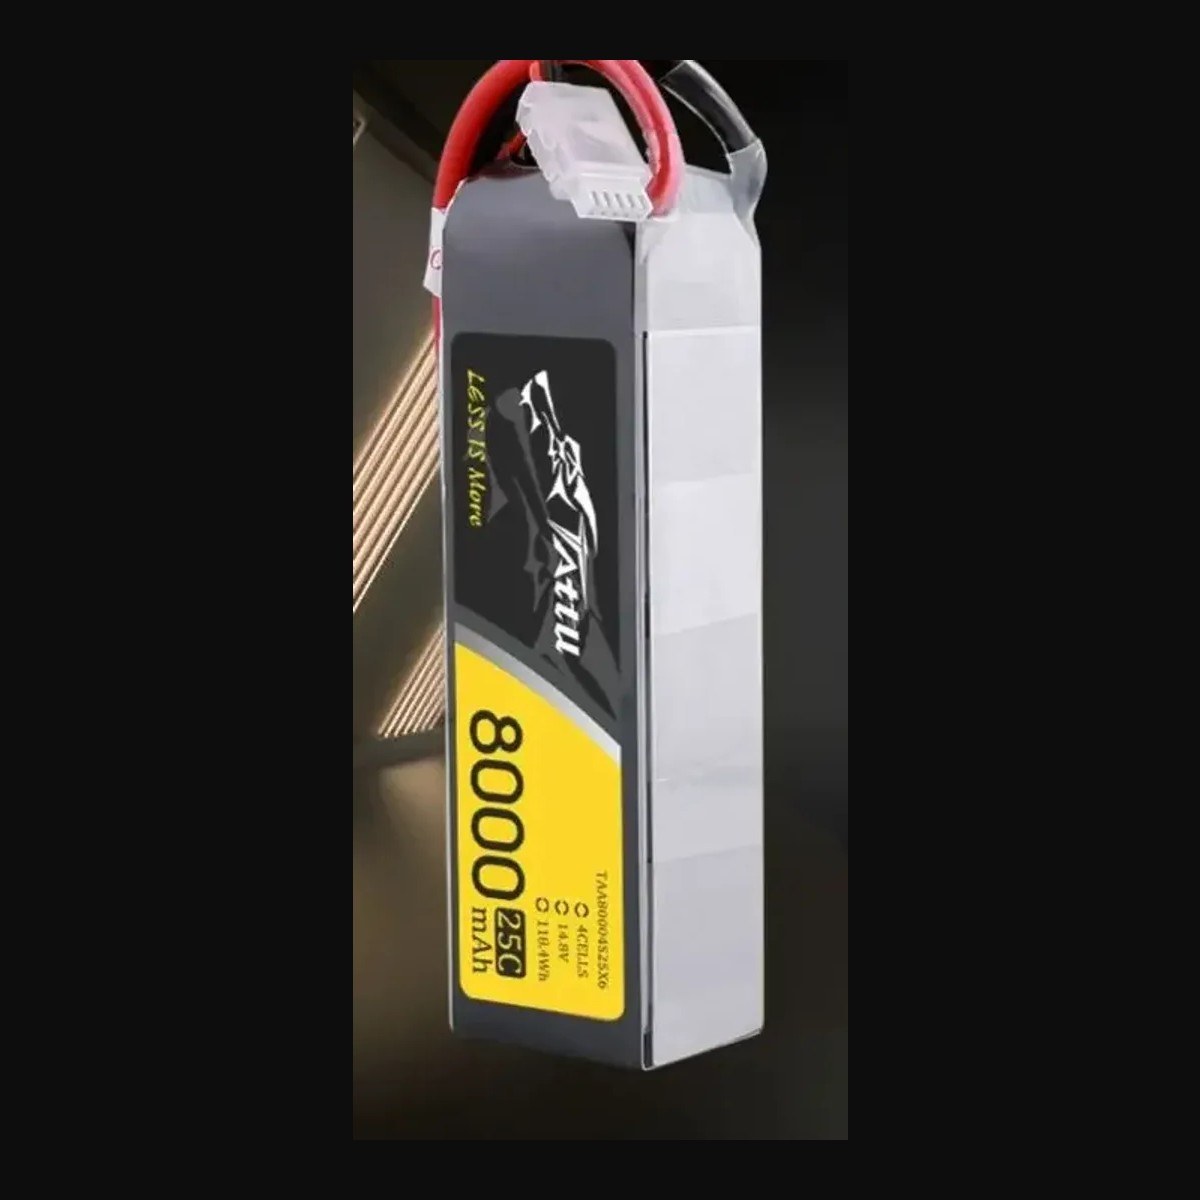
- Battery cell count. KV multiplied by the voltage of the cell count gives the motor speed, so motors and battery are chosen together. 4S and 6S are the usual choices.
- ESC. Its voltage rating must cover your cell count, and its continuous current rating must sit comfortably above what the motors draw. See the ESC guide for how to read the ratings.
- Flight controller. It must fit the ESC wiring and the frame mounting pattern, have enough UARTs for the receiver and video equipment you plan, and run the firmware you want.
Check that the stack fits the frame
Stacks mount on a square pattern of holes, and the common ones are 20 x 20 mm and 30.5 x 30.5 mm. The frame, the flight controller and the ESC must all use the same pattern, and the stack must fit the frame's height and the length of the plug-in connector between the boards.
Check the motor mounting pattern against the arms, the shaft and nut against the propeller, and whether the frame has space for the video transmitter, the receiver and a battery of the size you want. A paper measurement before buying is cheaper than a return.
Receiver, video, radio and goggles
The receiver has to speak the same protocol as your radio. ExpressLRS is common today, and our ELRS guide explains the frequency bands and how to choose between them. Pick the radio first, because it is the part you keep for years, then buy a receiver for it. See the radio guide for what to look at.
For video, analog is cheaper and simple, with a picture that degrades gradually and a good choice for lighter builds. Digital HD gives a much sharper picture and costs more. Whichever you choose, the camera, the VTX or air unit, the antenna and the goggles must belong to the same system, and the video transmitter must have its antenna fitted before it is ever powered.
Battery, charger and tools
Buy batteries for the cell count you chose, with an XT60-type or similar connector that matches your ESC wiring. LiPo is the usual choice for a first freestyle build, and our guide to LiPo and Li-ion explains when Li-ion makes more sense. Buy at least two, since a single pack means long waits between flights.
A balance charger is not optional. Read the charging and storage guide on the site before the first charge, because LiPo packs can catch fire if they are damaged, overcharged or left unattended.
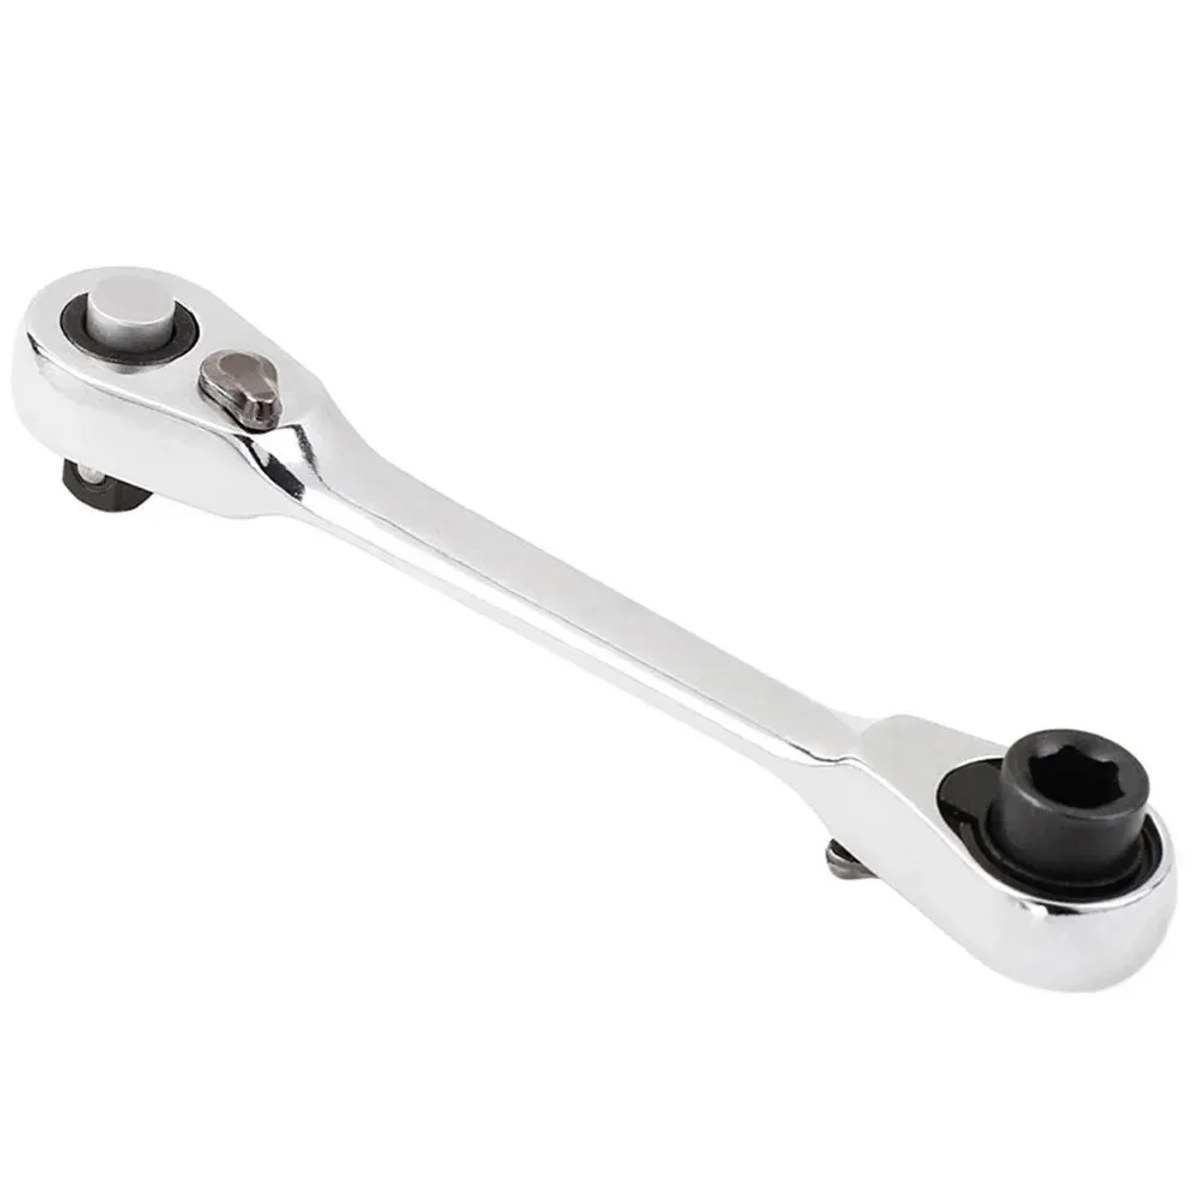
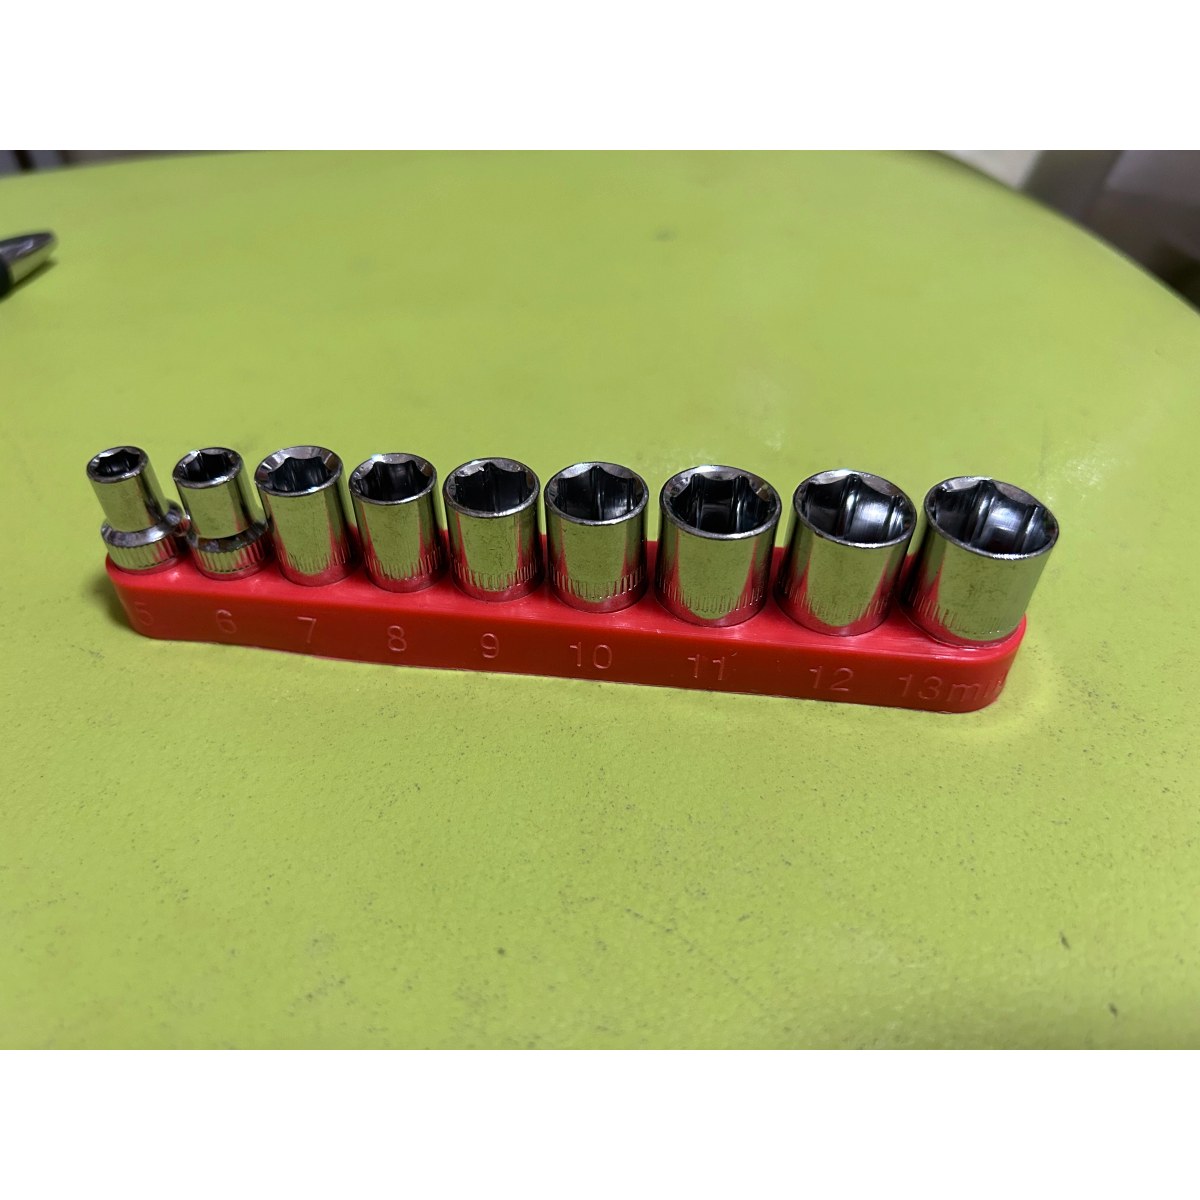
On the tool side, a temperature-controlled soldering iron with a decent tip matters more than any other single purchase. Add flux, a hex driver set, wire strippers, side cutters, a multimeter and a battery strap. A smoke stopper is an optional but cheap way to avoid cooking a board on the first power-up.
The build order
Doing the steps in this order means you can test as you go and avoid taking things apart again:
- Dry-fit everything on the frame before any soldering, to confirm it fits and the wires will reach.
- Mount the motors with the screws supplied. Screws that are too long can touch the windings and damage the motor, so use the right length.
- Solder the motor wires to the ESC. The order does not matter yet, because you can swap the direction later.
- Solder the battery lead and the capacitor to the ESC power pads, keeping the polarity right. The capacitor goes as close to the pads as you can manage, with short legs.
- Mount the stack on soft grommets and connect the ESC to the flight controller.
- Wire the receiver and the video system. Pay attention to the voltages each part expects and to which UART each one uses.
- Fit and secure the antennas, away from carbon fiber and from the flight controller.
- Inspect every joint under a light, and use a multimeter to confirm there is no short between the battery pads before the first power-up.
Flash, configure and bench-test with props off
Connect the flight controller to a computer and flash the firmware, then open the configurator that matches it (Betaflight, INAV or similar). Set the following in the configurator:
The flight controller can be configured over USB alone, but the motors only spin with a battery connected. For the motor test you therefore need a charged battery, the propellers off, and the drone held where nothing can reach your fingers. Bind the radio to the receiver by following the receiver's own instructions, and keep the transmitter on while you check the channels. Once the settings are done, save a backup of the configuration to a file so you can return to it if something goes wrong.
- Check that the board is level and that the orientation arrow points forward, or set the board alignment if it is rotated.
- Ports: turn on the receiver UART with the right serial protocol, and the UART for the video system if it needs one.
- Receiver: select the protocol and check that every stick and switch moves the right channel in the right direction.
- Motors: with propellers off, spin each motor one at a time at a very low value and confirm the order and the direction. If one spins the wrong way, reverse it in the ESC software or swap any two of its three wires.
- Modes: put arming on a switch, add a beeper switch, and a flip-over-after-crash mode if your firmware has one.
- Failsafe: choose what the drone does when the signal is lost, and test it on the bench by switching off the radio and watching the result.
Common beginner mistakes
These account for most failed first builds, so check them against your own drone:
- Testing motors with propellers on. Always keep them off on the bench.
- A motor that spins the wrong way, so that the drone flips on take-off.
- Mismatched voltage ratings, such as 6S plugged into an ESC, flight controller or video transmitter rated for fewer cells.
- No capacitor on the battery leads, which exposes the electronics to voltage spikes.
- Loose antennas, or a transmitter powered with no antenna fitted.
- Forgetting to set up and test failsafe, or to bind the radio before the first arming.
- Propellers on the wrong motors. Match the propeller direction to the motor direction.
- Charging a battery unattended or on a flammable surface.
Time, budget and the first flight
As a rule of thumb, plan a full weekend for a first build, including the setup and finding any mistakes. An experienced builder is much faster, and a first build that takes longer is normal. Prepare your parts, tools and a clean workspace before you start.
If the budget is limited, spend it on the things you will keep: the radio, the charger and batteries, a good soldering iron and a flight simulator to practice. These carry over to every drone you build next. Do not skimp on the ESC and the battery, because a failure there can destroy the rest of the build. You can save on the camera, the frame finish and the goggles at the start, and buy spare propellers and arms, which you will use.
For the first flight, put the propellers on last, take the drone to a safe open area away from people, check the local rules, arm it and lift it into a low hover. Land, check that nothing is hot, and make small changes from there.